Intelligent Electronic Forms
The central component of most workflow software is the Intelligent Electronic Forms. This is where most of the data will be collected, it should also be able to configure the form to become an electronic case.
The data in the form can be collected directly by a user keying the information directly in,to the fields. Data can also be input into the form from other workflow components and modules. For example when a form is created the users personal data, name address etc and be automatically placed into the form. This reduces input time and data replication. The form also has integration tools, data that is resident in another enterprise database, the data from which can be automatically inserted in to the form.
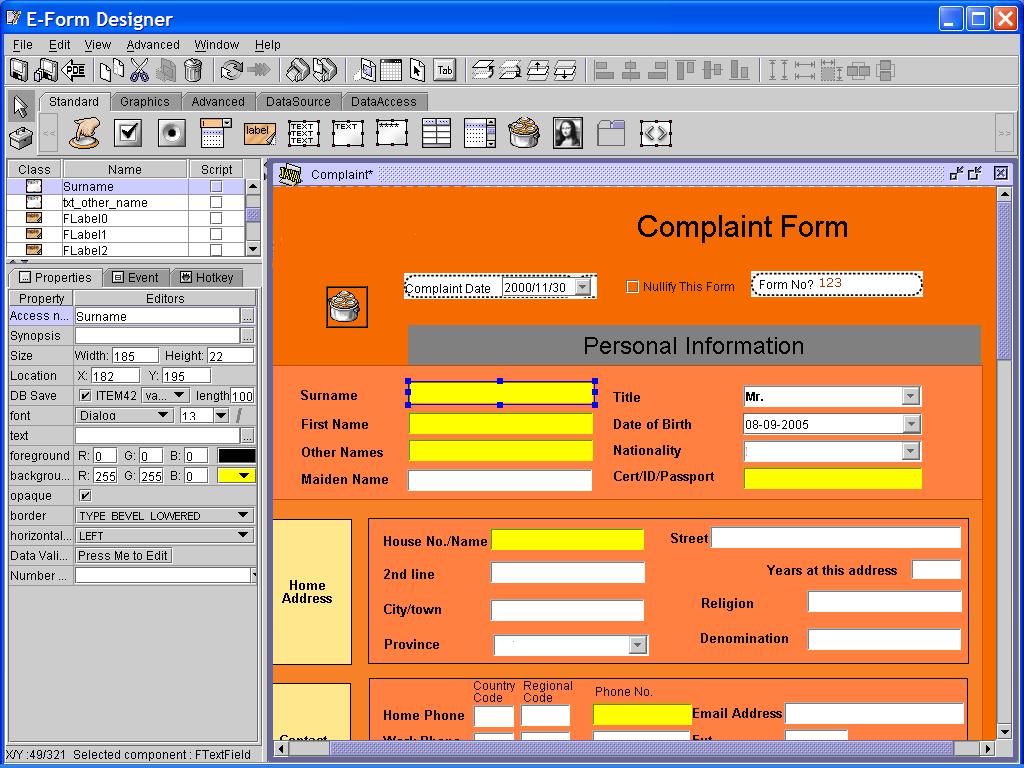
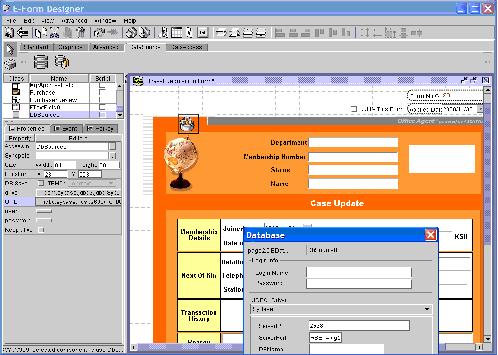
These forms are created using an e-Forms generator Module shown.
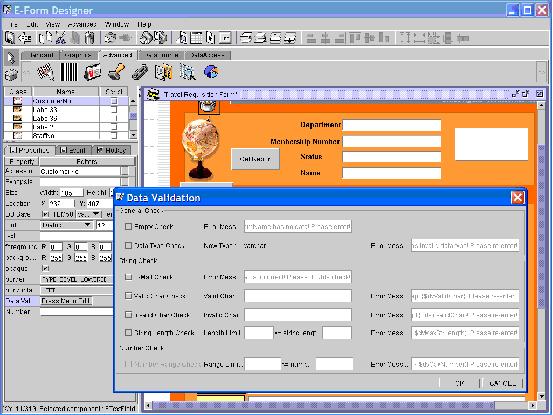
E-Form fields should include data validation, there are three validation types that can be used.
1. General Validation
All the data can have this validation. It has two modes: Empty Validation and Type Validation.
(a) Empty Validation:
If the field is empty, the default error message of this field will display in the error message window. The system should have a feature to remind the user to fill the field, but it won’t take effect until the component’s “Empty Validation” in the data validation field has been selected.
(b) Type Validation:
The system retrieves the description of component’s types from the database, if the input type does not match the system type, the default error message will be displayed in the error message window of the data validation.
2. String Validation
String validation should have four modes: E-Mail Validation, Legal Char Validation, Illegal Char Validation and Stringlength Validation.
(a) E-Mail Validation:
If the E-Mail address is not valid, the default error message displays in the error message window.
(b) Legal Char Validation:
Configure the legal characters for the field initially. Once the validation routine checks that an input character is out of legal scope, the default error message displays in the error message window.
(c) Illegal Char Validation:
Configure the illegal characters for the field initially. Once the validation routine checks that an input character is illegal, the default error message displays in the error message window.
(d) String length Validation:
Configure the allowable range of string length initially. Once the validation routine checks that the input string is not in the range, the default error message displays in the error message window.
3. Numerical Validation
Numerical Range Validation:
Configure the range of numerical values. If the validation routine checks that the input number is not in the range, the default error message displays in the error message window.
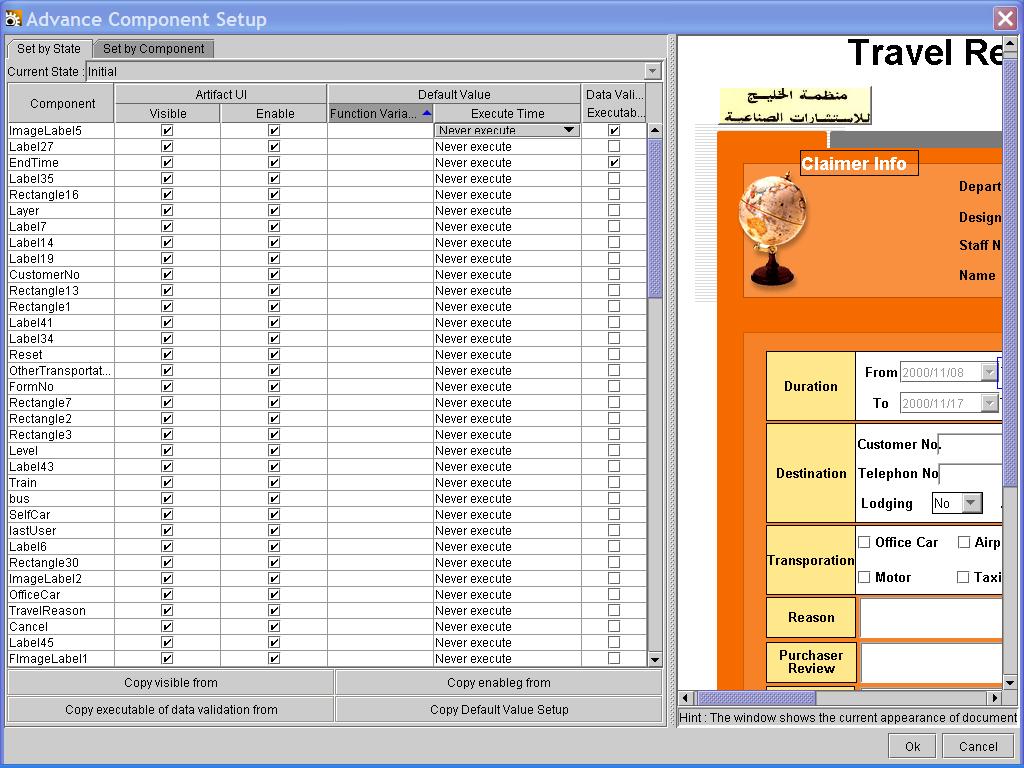
It is important to remember that data validation needs can change during the process, make sure that the forms editor can do this.


